Mastering Eye Makeup for Different Eye Shapes

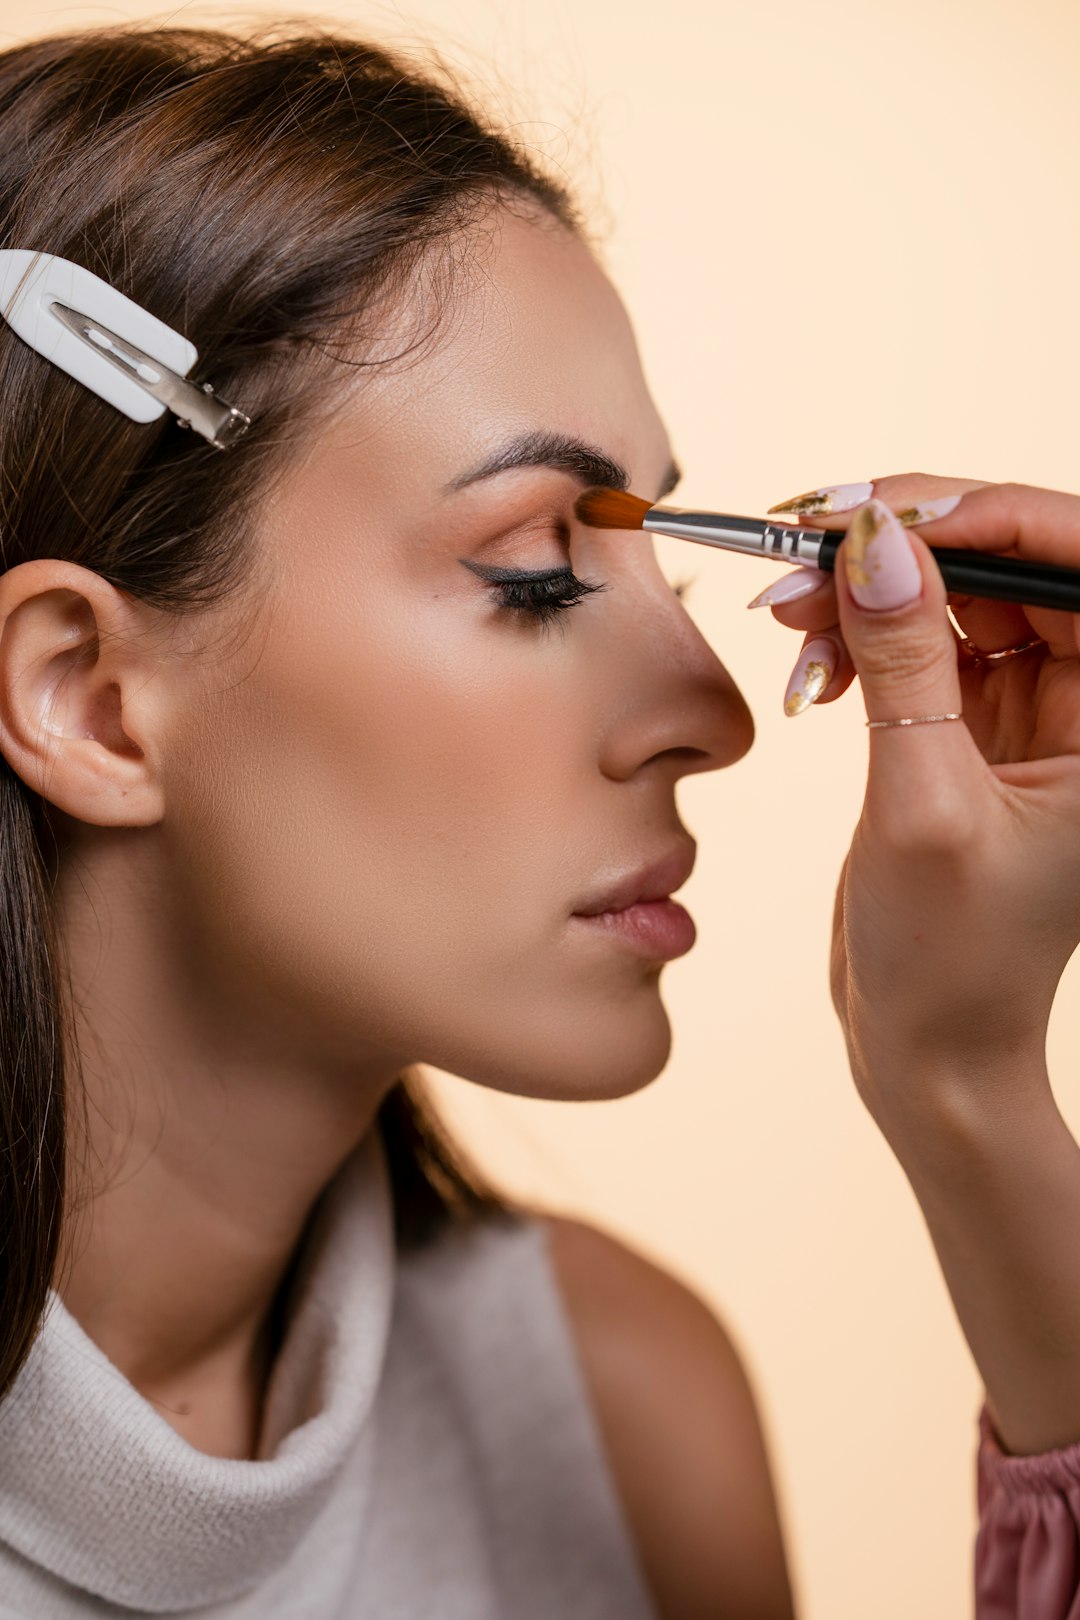
The eyes are often considered the most expressive feature of the face, and eye makeup has the power to enhance their natural beauty. However, not all eye makeup techniques work universally for every eye shape. As a professional makeup artist with a background in fine arts, I've developed specific approaches for different eye shapes that can dramatically enhance their unique characteristics.
In this comprehensive guide, I'll walk you through identifying your eye shape and share customized techniques to make your eyes look their absolute best.
Identifying Your Eye Shape
Before diving into specific techniques, let's identify the main eye shapes. Keep in mind that many people have combination eye shapes with characteristics of multiple categories. Look at your eyes in a mirror with a neutral expression to determine which description best matches your eyes:
Almond Eyes
Almond eyes are considered the "standard" eye shape in makeup tutorials. They're symmetrical with a slight upward tilt at the outer corners. The iris is partially covered by the upper and lower lids when looking straight ahead.
Round Eyes
Round eyes appear circular with little to no natural crease. When looking straight ahead, you can see the white of the eye (sclera) above and/or below the iris, and the eyes don't have a pronounced outer upward tilt.
Hooded Eyes
Hooded eyes have excess skin folding down from the brow bone that covers the natural crease and sometimes part of the eyelid. When your eyes are open, this hood can make your eyelid appear smaller or even completely hidden.
Monolid Eyes
Monolid eyes have little to no visible crease in the eyelid. The eyelid appears flat from the lash line to the brow bone without a discernible fold.
Downturned Eyes
Downturned eyes have an outer corner that tilts downward. If you draw an imaginary horizontal line through the center of your eye, the outer corner falls below this line.
Upturned Eyes
Upturned eyes have an outer corner that tilts upward. Using the same horizontal line test, the outer corner sits above the line.
Deep-Set Eyes
Deep-set eyes are set deeper into the skull beneath a prominent brow bone, creating a natural shadow on the eyelid.
Protruding Eyes
Protruding eyes appear to bulge outward from the eye socket, with more visible eyelid space.
Close-Set Eyes
Close-set eyes have less than one eye-width of space between them.
Wide-Set Eyes
Wide-set eyes have more than one eye-width of space between them.
Universal Eye Makeup Tips
Before getting into shape-specific techniques, here are some universal tips that apply to all eye shapes:
- Prime your eyelids to prevent creasing and increase color payoff
- Blend thoroughly - harsh lines rarely look good on any eye shape
- Consider your eye color when choosing eyeshadow shades. Complementary colors can make your eye color pop (purple for green eyes, copper for blue eyes, etc.)
- Curl your lashes to open up the eyes
- Define your brows as they frame the entire eye area
Customized Techniques for Each Eye Shape
For Almond Eyes
Almond eyes are the most versatile shape and can carry off almost any eye makeup technique. The goal is to enhance their natural symmetry and elongated shape.
Technique:
- Apply a light neutral shade all over the lid
- Define the crease with a medium shade in a windshield-wiper motion
- Apply a darker shade to the outer corner in a "V" shape
- Highlight the inner corner and brow bone
- Apply eyeliner along the upper lash line, slightly thickening at the outer corner
- Apply mascara to both upper and lower lashes
Pro tip: Almond eyes look stunning with a classic cat-eye liner that follows their natural upward tilt.
For Round Eyes
Round eyes are beautiful and expressive. Makeup techniques for round eyes often focus on elongating their shape to create more of an almond appearance.
Technique:
- Apply a light shade to the inner two-thirds of the lid
- Apply a medium shade to the outer third of the lid and blend into the crease, focusing on the outer corner
- Define the outer corner with a dark shade, extending it slightly outward and upward
- Keep the lower lash line clean except for a small amount of the medium shade on the outer third
- Apply eyeliner to the upper lash line, thickening toward the outer corner and extending slightly beyond the eye
- Apply mascara more heavily to the outer lashes
Pro tip: Avoid applying dark colors all around the eye as this can emphasize roundness. Focus darker shades on the outer corners only.
For Hooded Eyes
Hooded eyes have less visible lid space when open. The key is to create the illusion of a lifted eye and make the limited lid space appear larger.
Technique:
- Apply a matte primer to control oiliness (hooded eyes are prone to creasing)
- Apply a light shade all over the lid up to the brow bone
- Apply a medium shade above the natural crease so it's visible when eyes are open
- Keep the darkest shade focused on the outer corner, blending upward and outward
- Use a thin, waterproof eyeliner that won't transfer to the hood
- Apply a light shade or shimmer to the center of the mobile lid to bring it forward
- Curl lashes thoroughly and use lengthening mascara
Pro tip: Look straight ahead into a mirror while applying eyeshadow with your eyes open to ensure you're placing colors where they'll be visible.
For Monolid Eyes
Monolid eyes have a smooth surface from lash line to brow with little or no crease. The goal is to add dimension and definition without relying on traditional crease techniques.
Technique:
- Apply a light shade all over the lid
- Create a gradient effect by applying a medium shade from the lash line, blending upward to just above where a crease would be
- Apply a darker shade very close to the lash line, gradually diffusing upward
- Apply eyeliner close to the lash line, thickening toward the outer corner
- Consider tight-lining (applying liner to the upper waterline) to define eyes without taking up lid space
- Apply a light shimmer to the center of the lid to create dimension
- Curl lashes and apply volumizing mascara
Pro tip: Using slightly darker shadow as "liner" instead of a harsh liquid line can create a softer, more dimensional look for monolids.
For Downturned Eyes
Downturned eyes have an outer corner that tilts downward. The goal is to create a lifted appearance at the outer corner.
Technique:
- Apply a light shade all over the lid
- Apply a medium shade to the crease, focusing on the outer two-thirds and blending upward and outward
- Keep the darkest shade above the outer corner, angled upward (avoid putting dark shadow below the outer corner)
- Apply eyeliner in a thin line, starting from the middle of the eye and extending upward beyond the outer corner
- Keep the lower lash line clean or apply a small amount of shadow only to the outer third
- Highlight the inner corner to open up the eye
- Focus mascara on the center to outer lashes of the upper lid
Pro tip: A subtle wing liner that tilts upward can counteract the downward appearance of the outer corner.
For Upturned Eyes
Upturned eyes already have a natural lift at the outer corners. The goal is to enhance this cat-like quality.
Technique:
- Apply a light shade all over the lid
- Define the crease with a medium shade, following its natural upward tilt
- Apply a darker shade to the outer corner in a "V" shape that follows the eye's upward tilt
- Wing out eyeliner following the natural upward angle
- Apply mascara to both upper and lower lashes
Pro tip: Upturned eyes look stunning with a classic cat-eye liner that follows their natural angle.
For Deep-Set Eyes
Deep-set eyes sit deeper under the brow bone, often creating a natural shadow. The goal is to bring the eyes forward and minimize the shadowed appearance.
Technique:
- Apply a light, slightly luminous shade all over the lid to bring it forward
- Keep darker shades to a minimum, applying only to the outer corner
- Highlight the center of the lid and inner corner
- Apply a highlight shade under the arch of the brow
- Keep eyeliner thin, focusing on the outer half of the eye
- Curl lashes well and apply lengthening mascara
Pro tip: Avoid dark colors in the crease as they can make eyes appear even more deep-set.
For Protruding Eyes
Protruding eyes have more visible eyelid space and appear to project outward. The goal is to minimize the projection and create a more recessed appearance.
Technique:
- Apply a matte medium-toned shade all over the mobile lid
- Define the crease with a darker matte shade
- Apply dark shadow or liner along the upper lash line
- Apply a thin line of shadow or liner along the lower lash line
- Avoid highlighting the center of the lid or inner corner
- Focus mascara on the center to outer lashes
Pro tip: Matte shadows work better than shimmers for protruding eyes, as shimmer can emphasize projection.
For Close-Set Eyes
Close-set eyes have less than one eye-width between them. The goal is to create the illusion of more space between the eyes.
Technique:
- Apply a light, highlight shade to the inner third of the eyelid
- Apply medium shade to the center of the lid
- Apply darker shade to the outer corner
- Keep eyeliner thin or nonexistent on the inner half of the eye
- Focus liner on the outer half, thickening toward the outer corner
- Highlight the inner corner prominently
- Apply mascara more heavily to the outer lashes
Pro tip: Avoid dark colors on the inner corners of the eyes, as this can make them appear even closer together.
For Wide-Set Eyes
Wide-set eyes have more than one eye-width between them. The goal is to create the illusion that the eyes are closer together.
Technique:
- Apply lighter shades to the outer third of the lid
- Apply medium to darker shades to the inner two-thirds of the lid
- Extend eyeliner slightly toward the inner corner
- Apply darker shadow under the lower lash line, focusing on the inner half
- Keep the inner corner highlight minimal or skip it altogether
- Apply mascara more heavily to the inner lashes
Pro tip: Bringing your eyebrows slightly closer together with your brow product can also help balance wide-set eyes.
Eyeliner Techniques for Different Eye Shapes
Eyeliner is one of the most powerful tools for enhancing different eye shapes. Here's a quick reference for eyeliner styles by eye shape:
- Almond Eyes: Almost any liner style works. Classic cat-eye or subtle wings enhance the natural shape.
- Round Eyes: Thicken liner at outer corners and extend it outward to elongate the eye.
- Hooded Eyes: Thin liner that thickens toward the outer edge. Create the wing with eyes open to ensure proper placement.
- Monolid Eyes: Consider a "floating liner" that's visible above the lash line when eyes are open, or a thicker liner that's visible with eyes open.
- Downturned Eyes: Wing liner upward to counteract the downward tilt. Start the wing from the middle of the eye rather than the outer corner.
- Upturned Eyes: Follow the natural upward tilt with a classic cat-eye.
- Deep-Set Eyes: Keep liner thin and close to the lash line to avoid closing off the eye.
- Protruding Eyes: Line both upper and lower lash lines to create definition.
- Close-Set Eyes: Keep inner corners free of liner and thicken toward the outer edge.
- Wide-Set Eyes: Extend liner slightly toward the inner corner.
Working with Your Eye Color
In addition to eye shape, consider how certain eyeshadow colors can enhance your natural eye color:
- Blue Eyes: Warm tones like copper, bronze, and warm browns make blue eyes pop. Coral and peach also work beautifully.
- Green Eyes: Purple and mauve tones create striking contrast with green eyes. Bronze and copper also enhance green.
- Brown Eyes: Brown eyes are versatile and can wear almost any color. Blues, purples, and greens create beautiful contrast.
- Hazel Eyes: Hazel eyes can change appearance based on the colors you wear. Green and purple enhance the green flecks, while warm browns and golds bring out the brown tones.
- Gray Eyes: Silver, slate blue, and charcoal can enhance gray eyes, while burgundy and wine tones create interesting contrast.
Final Thoughts
Remember that these techniques are guidelines, not rules. The most important aspect of makeup is that it makes you feel confident and beautiful. Don't be afraid to experiment and adapt these techniques to find what works best for your unique features.
With practice, you'll discover which approaches enhance your eyes most effectively. Makeup is an art form, and your face is a unique canvas deserving of techniques tailored specifically to you.
If you'd like personalized guidance on the best makeup techniques for your specific eye shape and coloring, consider booking a personal makeup consultation with one of our professional artists who can demonstrate techniques customized just for you.